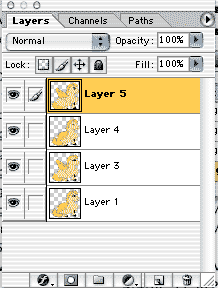
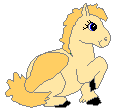
1. Create the drawings that you want to use as separate frames and put on separate layers in Photoshop (the first frame is the bottom layer, the second frame is the layer above it, and so on.
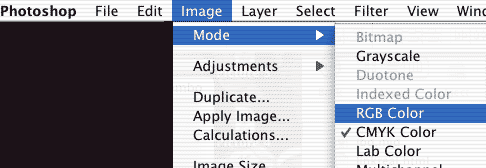
2. Make sure you are in RGB mode: Image/Mode/RGB color.
Animated
Gifs: Photoshop 7.0 and Imageready
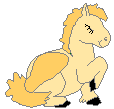
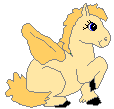
1. Create the drawings
that you want to use as separate frames and put on separate layers in Photoshop
(the first frame is the bottom layer, the second frame is the layer above it,
and so on.
2. Make sure you are in RGB mode: Image/Mode/RGB color.
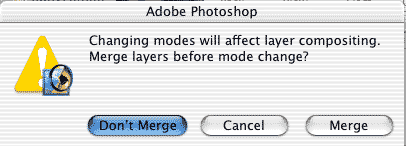
3. Don't merge the layers.
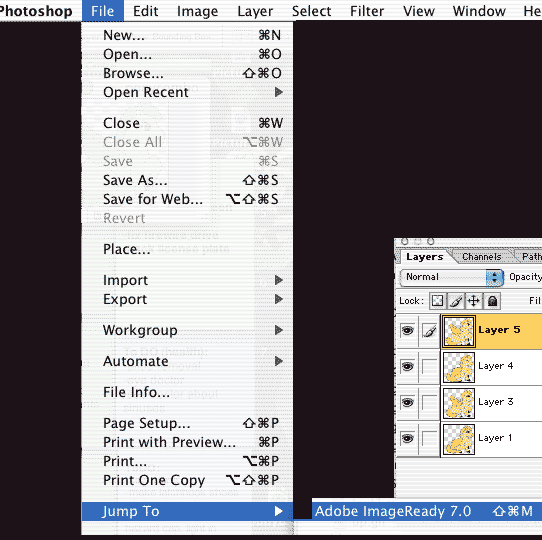
4.
Jump to Imageready from Photoshop.
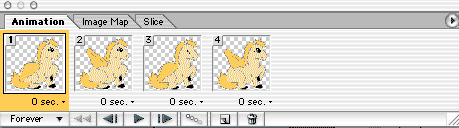
5. In Imageready you will see your layers still in the layers window. If you open the animation window: Window>Animation, you will see the following single image. You need to choose to make new frames for your animation from the layers you made in Photoshop. Do this in the pull-down menu of the Animation window.
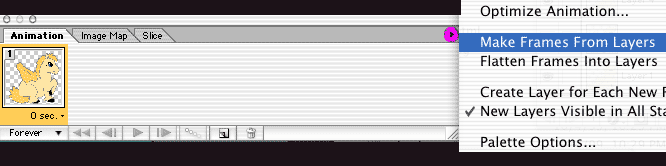
You should see the frames spread out across the window in sequential order.
Note: you can use the play
button on the bottom of the window to test your animation.
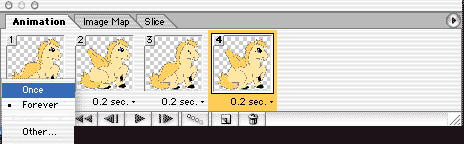
6. Choose the number of seconds between frames in the settings on the bottom of each picture in the Animation window.

7. Select if you want the
animated gif to loop or play only once.
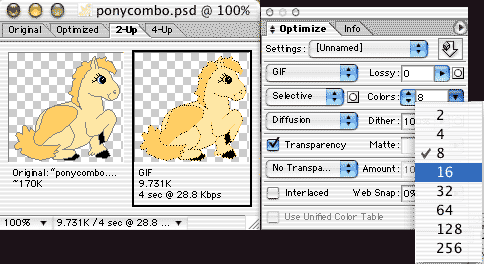
8. Adjust just one of the
images in the optimize settings to optimize all. Make sure you choose GIF.
9. Select Save Optimized
As from the File Menu to save the final animated gif.

Name it and put it where you want. That's it. You can test it by dropping it in a browser.
 |
 |
 |
 |